


 Adapters

Classic Gunsmith Adapter - Product Guide
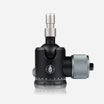
Our range of Gunsmith Adapters are designed for hunters who want the ultimate in discreet lightweight attachment systems for their Spartan Javelin and SpringBok Bipods, Ascent, Hoplite, and Sentinel Tripods, SpringBok Quad Sticks, and Davros Heads. These are designed to be bonded into wooden and synthetic rifle stocks by professional gunsmiths and competent individuals.
Subscribe to our YouTube Channel here.Overview
The installation of a Spartan Gunsmith Adapter into the stock of your rifle is a relatively straightforward process when carried out carefully and with accurate measurements. Because the rifle action must be removed from the stock during installation, we recommend that customers seek assistance from a professional gunsmith if they are not comfortable performing the work themselves. A successful installation depends largely on ensuring that the adapter is positioned correctly and that all measurements are taken precisely before drilling the stock.
Please note: Modifying your rifle stock with third-party equipment is at the user’s risk. Spartan Precision equipment does not accept responsibility for the failure of any products other than their own. Not compatible with the Blaser Carbon bipod.
Planning the Installation
Before beginning the installation, it is important to determine the correct location for the adapter. The adapter should be positioned centrally along the centerline of the fore-end of the rifle stock. It must not obstruct any existing fittings or internal components, and there must be sufficient space within the stock to accommodate the adapter and any bedding compound used. The adapter should also be positioned so that it does not come into contact with the rifle barrel once installed.
Because every rifle stock is different, it is important to carefully assess the available space before drilling. In most cases, placing the bipod mounting point closer to the muzzle improves shooting stability, provided there is sufficient space in the stock. Some users also install additional Gunsmith Adapters closer to the rifle’s balance point to allow compatibility with products such as the Sentinel or Davros heads.
Positioning Relative to the Sling Stud
A common question is whether the adapter should be installed in front of or behind the sling stud. Both positions can work, but we generally recommend installing the Gunsmith Adapter forward of the sling stud when possible. This reduces the likelihood of interference between the bipod and the sling stud during use. When attaching a bipod to the adapter, ensure there is enough clearance for the bipod to move freely and that the pan function is not obstructed by the sling stud.
In some cases, dual gunsmith adapters have been fitted into our stocks, one positioned forward and one closer to the centre of the stock. This can be useful when mounting your support closer to the rifle’s balance point for angled shooting positions. While not essential, it provides additional versatility once you become familiar with the Spartan System.
Step 1 – Remove the Action and Protect the Stock
Before starting the installation, remove the rifle action from the stock. Protect the rifle stock by masking the surrounding area with tape, then secure the stock upside down in a suitable vice or clamp. This will keep the stock stable while drilling and help prevent accidental damage.
Step 2 – Mark the Centre of the Stock
Accurately marking the centreline of the stock is critical for proper alignment. This can be done using string or calipers to identify the exact centre of the fore-end. Once identified, clearly mark the centre point where the adapter will be installed.
Step 3 – Selecting the Correct Drill Bit
The correct drill bit depends on whether the rifle stock is solid or hollow. For solid rifle stocks, a 19 mm Forstner bit is recommended to bore the hole. For hollow stocks, which are often made from polymer materials, an 18 mm hole saw is typically more suitable. Polymer stocks often have slight flexibility, allowing the adapter to press firmly into place for a secure fit. If the initial fit is too tight, the hole can be slightly enlarged using a small rotary tool.
Step 4 – Drilling the Installation Hole
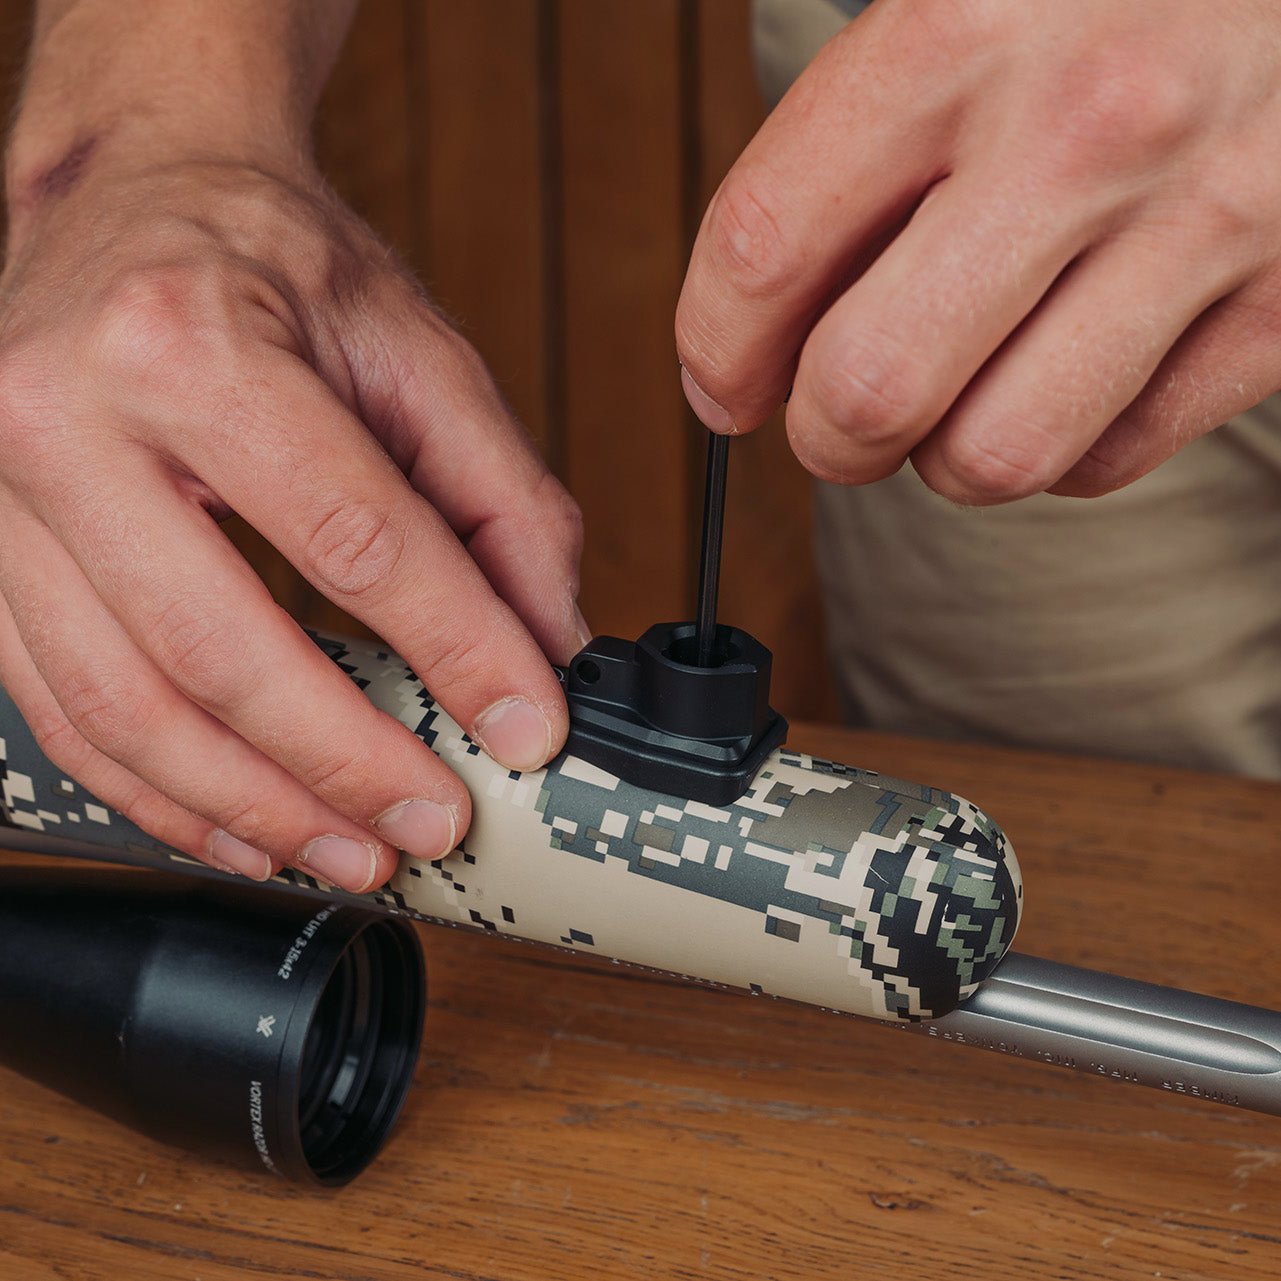
Carefully drill the hole in the selected position, ensuring there is enough material within the stock to support the adapter. The Gunsmith Adapter has a total depth of 17 mm (0.6 inches), although it does not need to be fully recessed into the stock. The outer rim of the adapter is designed to sit slightly proud of the surface. A minimum of 12 mm of the adapter should be embedded within the stock, although it can be installed deeper if required and may even sit nearly flush if installed carefully.
The reason we choose to keep the adapter slightly protruding from the stock is to help you locate it quickly in low-light or time-sensitive situations by feeling the lip of the adapter
Step 5 – Aligning the Adapter
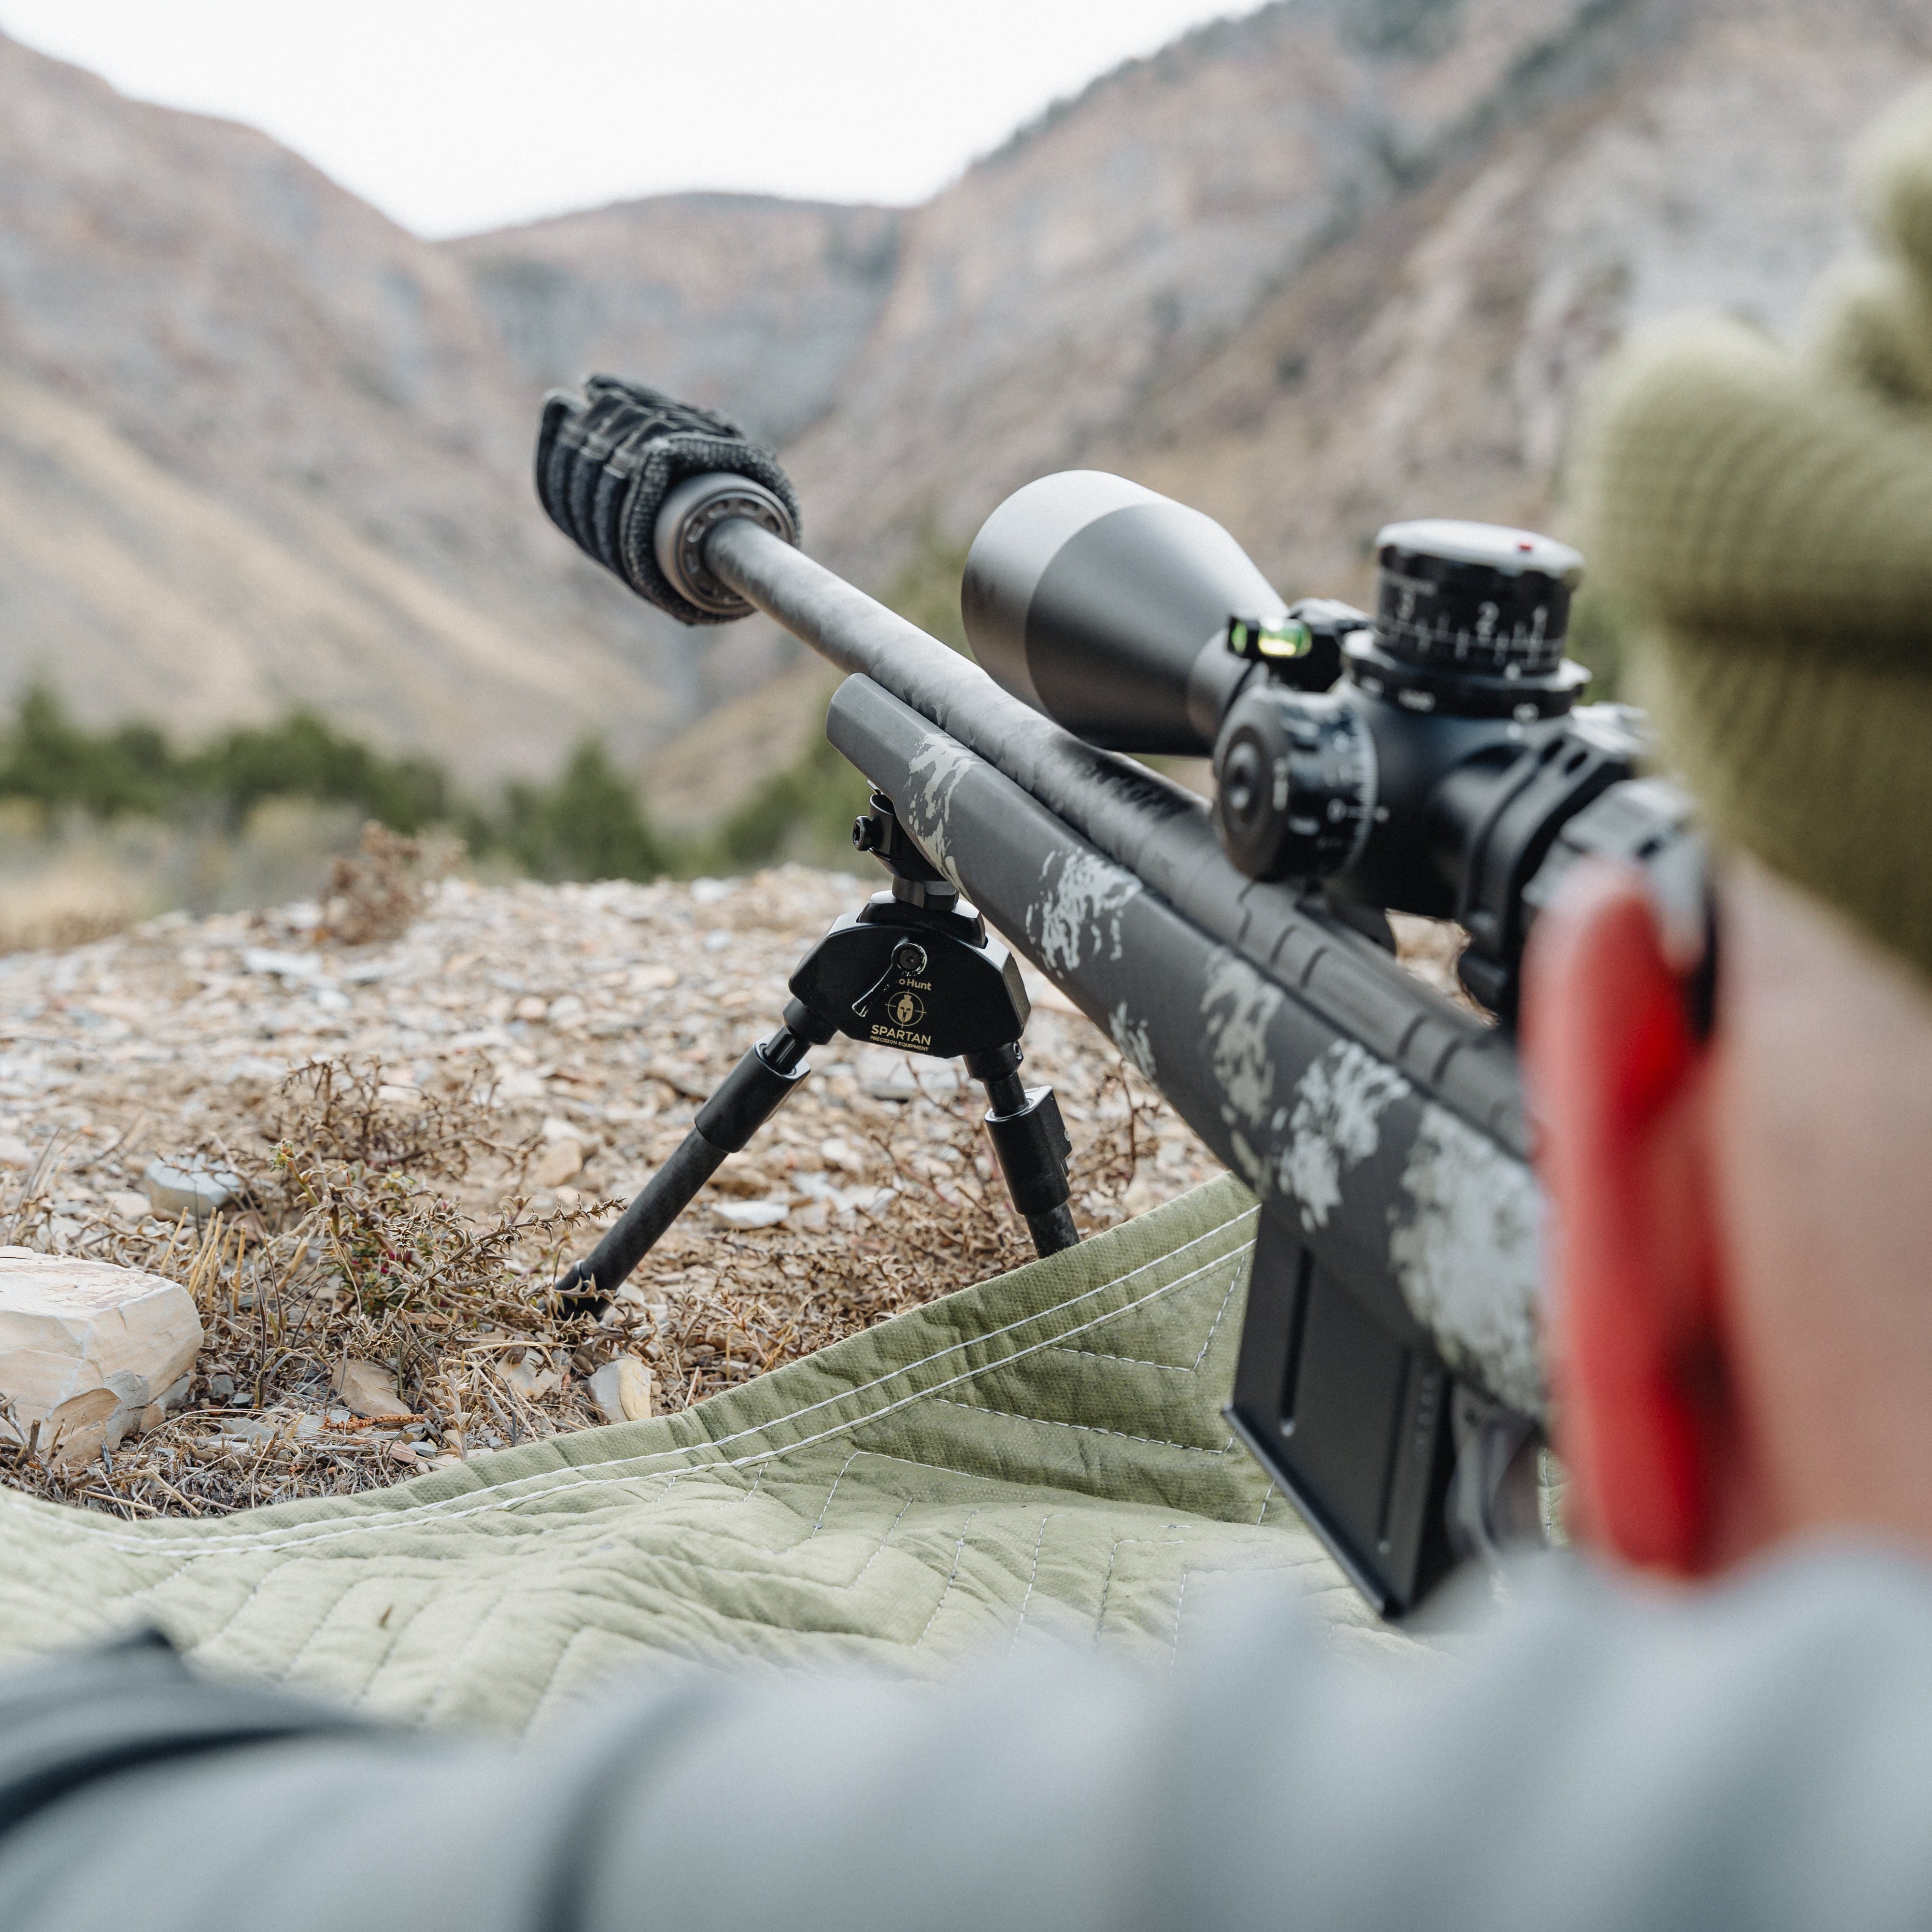
The Javelin Bipod can operate in two modes: Hunt Mode, which allows traverse movement, and Range Mode, which locks the bipod in place. For installation alignment, it is recommended to set the bipod to Range Mode. This ensures that the adapter is positioned correctly with the bipod body and that the locking mechanism aligns properly with the adapter cut-outs.
Step 6 – Cleaning and Bonding the Adapter
Once the hole has been drilled, the installation area must be cleaned and prepared. For solid stocks, the inside of the drilled hole should be lightly keyed and cleaned with a suitable solvent degreaser. The adapter can then be installed using a small amount of epoxy adhesive.
We recommend Devcon 10110 Type-A Plastic-Steel Putty or an equivalent two-part epoxy containing metal filler. This type of epoxy is strong, durable, and easier to shape while curing. For hollow stocks, additional bedding material is required to provide sufficient support for the adapter.
These stocks often contain internal braces or compartments that help contain the epoxy and support the adapter during installation. Ensure that the epoxy fully surrounds the adapter, bonding it securely to the stock while avoiding contact with the rifle barrel.
Tip: Use the bipod as a positioning tool. By aligning the bipod in your natural shooting position, you can make fine adjustments to how the Gunsmith adapter sits in the pre-drilled hole. Position the bipod as you would when shooting, ensuring the Gunsmith is not twisted and remains properly centred. Remove the bipod carefully once aligned.
Final Assembly
Once the epoxy has fully cured, remove the masking tape and clean the installation area. Reinstall the rifle action into the stock and confirm that the rifle is functioning correctly. It is recommended to recheck the rifle’s zero after installation.
Need More Help?
If you require further information or assistance with installation, please contact the Spartan support team at: help@javelinbipod.com
Adapters
 Adapters
Binocular Adapter - Product Guide
 Adapters
Classic Guide Adapter - Product Guide
 Adapters
Classic Gunsmith Adapter - Product Guide
 Adapters
Classic KeyMod Adapter - Product Guide
 Adapters
Classic UIT Rail - Product Guides
 Tripod Heads
Davros Head Gen 2 - Product Guide
 Tripod Heads
Davros Pro Head Gen 2 - Product Guide
 Adapters
HD Optics Adapter - Product Guide
 Bipods
Javelin Lite TL - Product Guide
 Tripod Heads
Quick Shot Rest - Product Guide
 Bipods