


 Adapters

Valhalla Gen 2 - Product Guide
The Valhalla Gen 2 builds on the proven design of the highly regarded Valhalla Gen 1, originally developed for military use and later adopted by precision shooters for both hunting and long-range shooting. The second generation refines the original concept with a simpler design and improved structural integrity, delivering greater strength, reliability, and ease of use in the field.
Subscribe to our YouTube Channel here.Overview
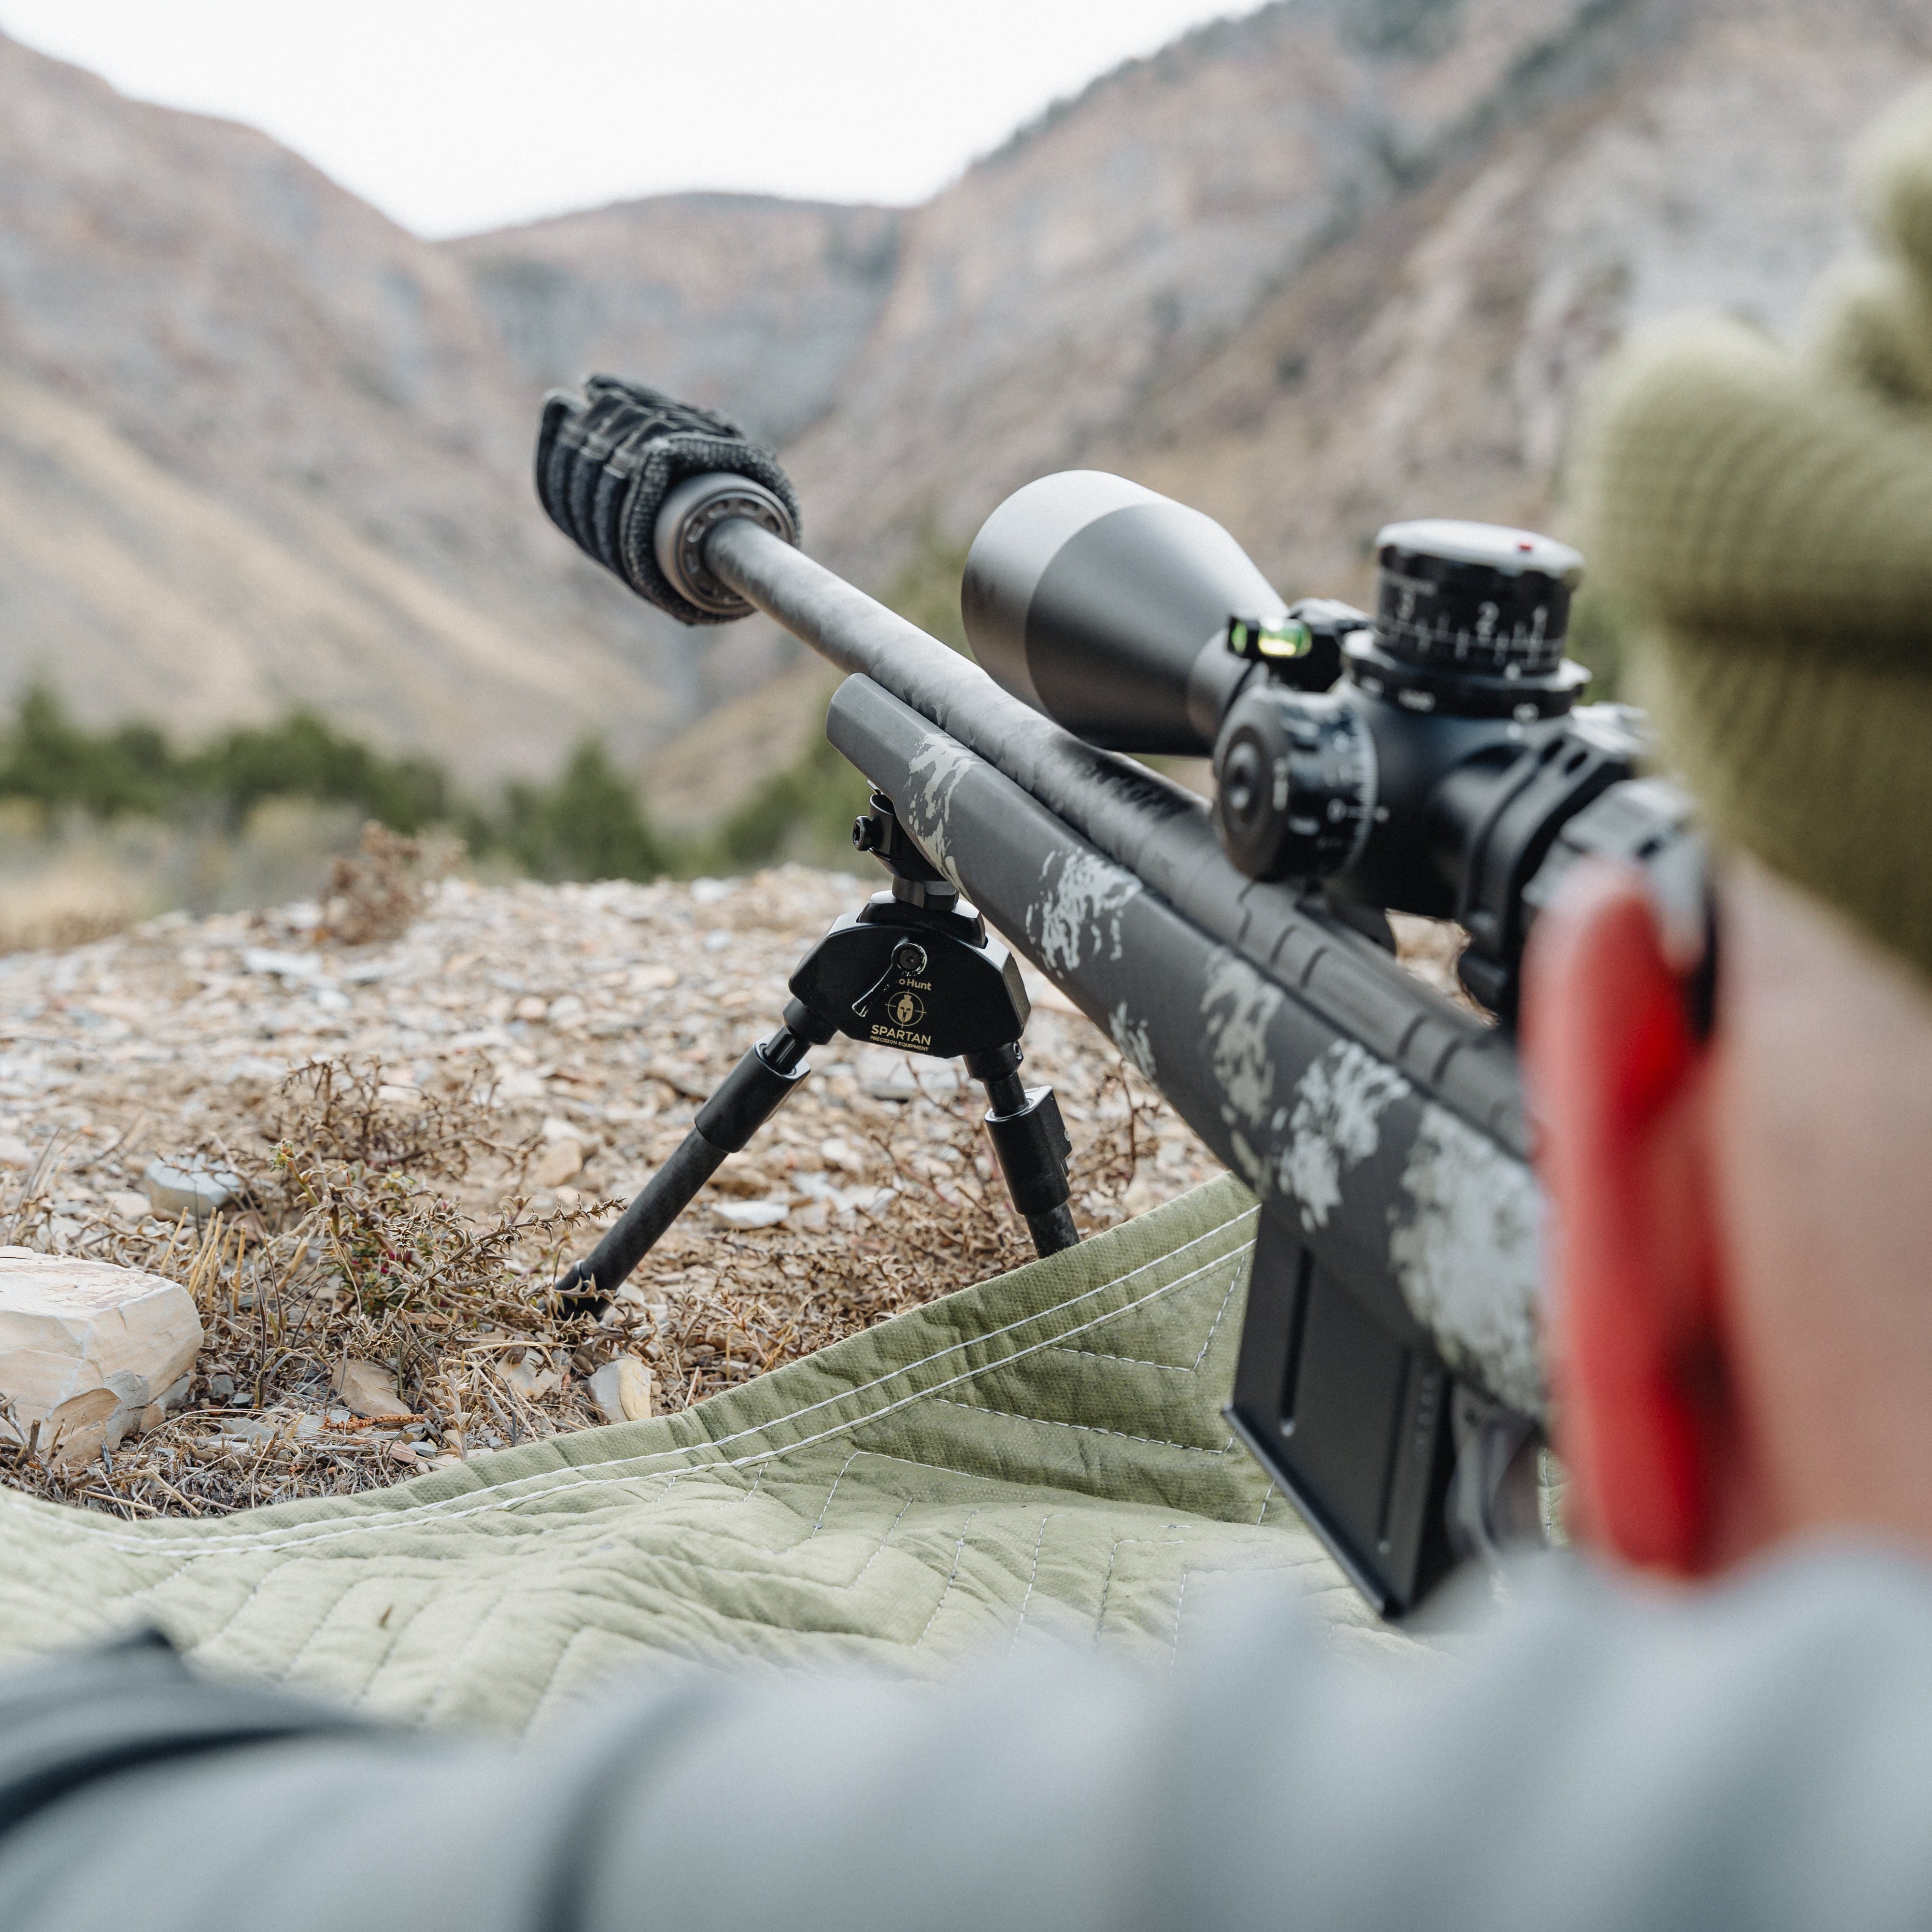
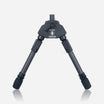
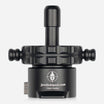
The Valhalla Gen 2 Bipod is designed for precision rifle shooters who require a stable, adjustable, and durable shooting platform. Built for demanding environments such as PRS competitions, long-range shooting, and tactical applications, the bipod offers multiple leg positions, adjustable cant control, and compatibility with both M-Lok and Picatinny mounting systems. The bipod attaches to a pre-installed adapter and can be deployed quickly when needed. Both the M-Lok adapter and Picatinny adapter are designed to remain mounted on the rifle but can also be removed easily if required.
Installing the M-Lok Adapter
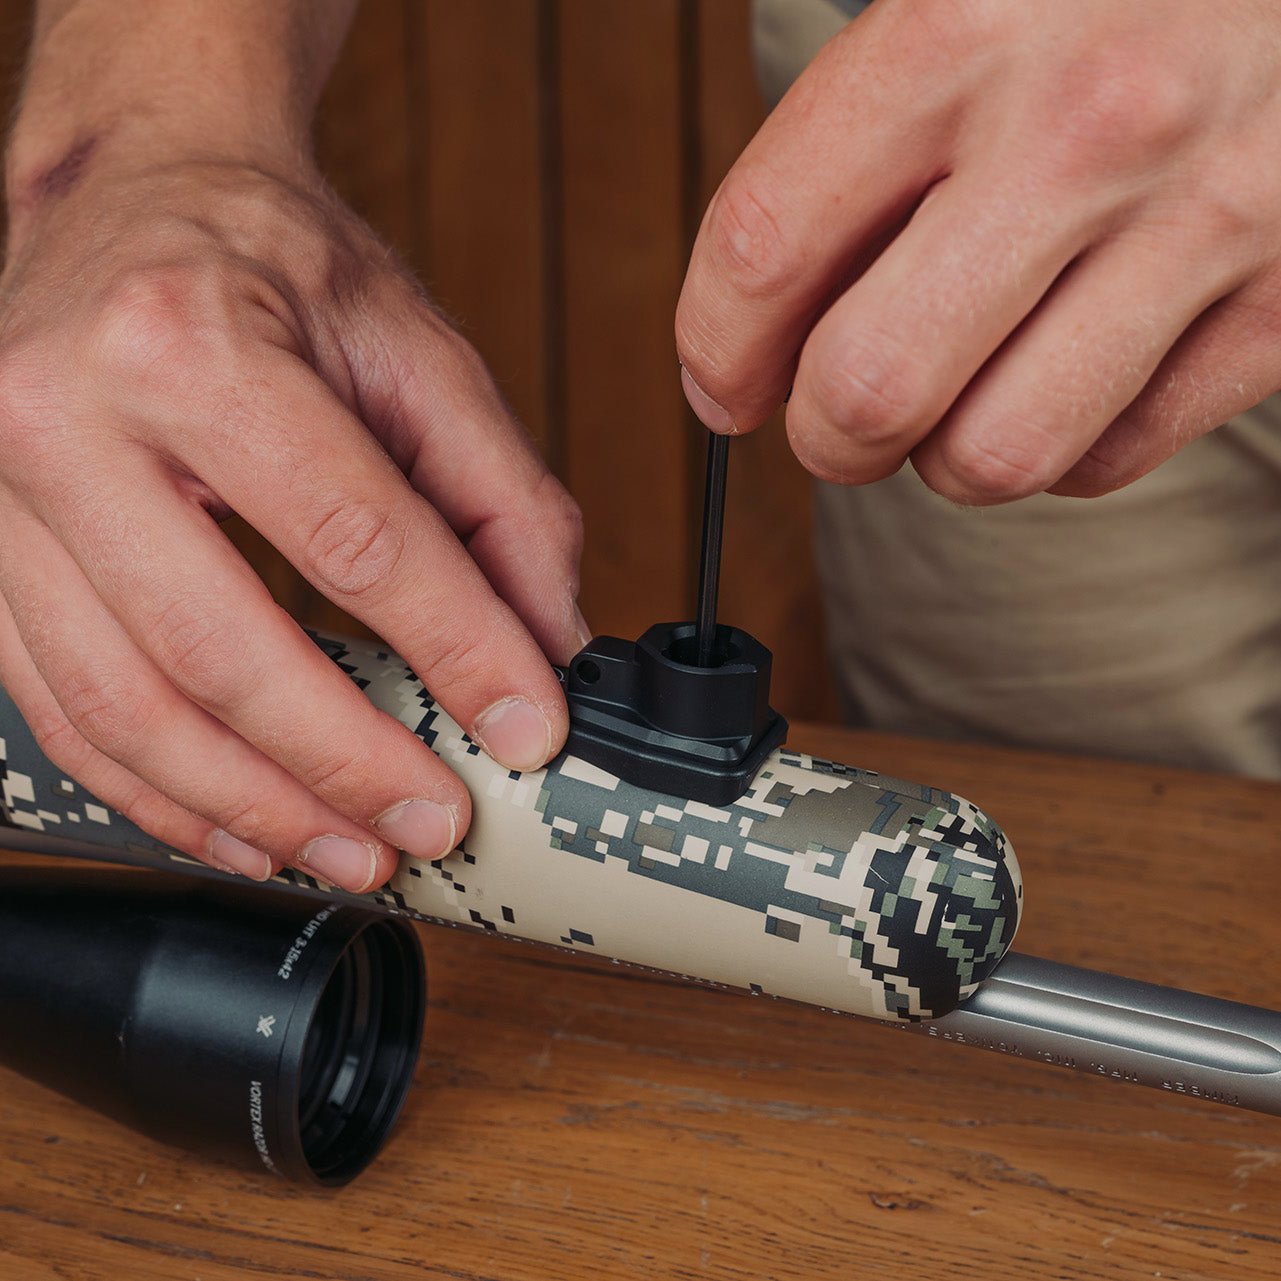
The M-Lok adapter allows the Valhalla Gen 2 Bipod to be mounted directly onto rifles equipped with an M-Lok handguard system.
Begin by positioning the adapter onto the M-Lok chassis using a Torx T20 key. Ensure that the T-Nut gap is slightly wider than the thickness of the mounting surface to allow proper rotation and locking. For most aluminium handguards, the highest edge of the T-Nut should align with the bottom edge of the recoil lug. Before tightening the screws, confirm that the adapter is fully seated in the M-Lok slot. The base of the accessory should sit flush against the handguard. Apply downward pressure on the hex wrench while tightening the screws.
For improved repeatability, you may apply slight forward and lateral pressure to the adapter so that it makes solid contact with the front and side of the slot before fully tightening the screws. Once tightened, confirm that the T-Nut has rotated 90 degrees into the locked position. If the T-Nut does not rotate correctly, it may require adjustment to the gap between the nut and mounting surface.
Applying a small amount of semi-permanent thread lock during installation is recommended for secure mounting.
Installing the Picatinny Adapter
The Picatinny Disc-Lok™ Adapter allows the Valhalla Gen 2 Bipod to mount securely onto rifles with a Picatinny rail. Using a Torx T30 key, loosen the two bolts located on the side of the adapter. Position the adapter onto the Picatinny rail and ensure it sits properly within the rail slots. Once aligned, tighten the bolts to an appropriate torque setting of approximately 4 Nm (32 ft-lb) to secure the adapter in place.
Attaching the Bipod to the Adapter
To attach the Valhalla Gen 2 Bipod, press the spring-loaded catch located at the front of the chassis. Slide the bipod onto the adapter spigot until it is fully seated and properly retained. Once installed, confirm that the bipod is securely locked in place before use. Adapters are packaged and sold separately as bundle products.
Compatibility with Gen 1 Spigots
The Gen 1 spigots are compatible with the Valhalla Gen 2 bipod, although the spigot will extend slightly beyond the body of the bipod. When using a Gen 1 spigot, the spring detent mechanism will not function, meaning the bipod must be secured using the cant turn-style locking wheel. The Gen 2 spigots are a hardened stainless steel, which is designed in line with the Gen 2 bipod itself. We would recommend using the right generational bipod with its adapter.
Cant Adjustment and Locking Wheel
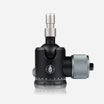
The cant adjustment wheel, located underneath the bipod body, controls the pressure applied to the adapter spigot. Rotating the cant wheel clockwise increases the pressure on the spigot, allowing the shooter to lock the rifle at the desired cant angle. This feature helps stabilize the rifle when shooting on uneven terrain.
Cant Limit Screw
The bipod includes an optional cant limit screw that restricts movement to approximately 10 degrees left and right. If a greater range of movement is required, the screw can be removed using a Torx T10 key, allowing the bipod to articulate more freely.
Leg Pitch Positions
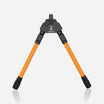
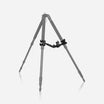
The Valhalla Gen 2 Bipod offers four leg pitch positions designed to support a variety of shooting styles and terrain conditions. The first position is 0°, which stores the legs in the stowed position. From there, the legs can quickly deploy to 90° using the quick-deploy feature, where pushing the legs downward automatically positions them for shooting.
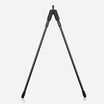
The 135° position is designed for situations where the shooter needs to lean into the rifle, such as when shooting downhill or reducing recoil movement. The 180° forward-locked position allows the legs to fold forward along the rifle. This configuration is useful when moving through dense vegetation where maintaining a low-profile setup helps prevent accidental deployment.
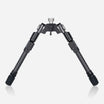
Leg Height Adjustment
The Valhalla bipod allows quick and precise height adjustments to accommodate different shooting positions. To extend or shorten the legs, depress the spring-loaded lever and slide the lower leg section to the desired length. Once released, the latch locks the leg securely into position. The internal spring system ensures smooth adjustments, even when operating the bipod from a prone shooting position.
Leg Orientation
The orientation of the Tac Leg adjustment lever can be customized to suit personal preference. To reposition the lever, loosen the two grub screws located at the top of the leg and rotate the leg section to the desired position. Once aligned, retighten the grub screws to secure the adjustment. Avoid overtightening the screws during this process.
Removing and Changing the Legs
The Valhalla bipod uses Spartan’s M14 threaded leg system, allowing the legs to be removed or replaced easily. To remove a leg, rotate it anti-clockwise until it unscrews from the bipod body. Replacement legs with different lengths or configurations are available within the Spartan accessories range, allowing the bipod to be tailored to different shooting environments.
Need More Help?
If you have any questions or require assistance with installation or operation, please contact the Spartan support team at: help@javelinbipod.com
Adapters
 Adapters
Binocular Adapter - Product Guide
 Adapters
Classic Guide Adapter - Product Guide
 Adapters
Classic Gunsmith Adapter - Product Guide
 Adapters
Classic KeyMod Adapter - Product Guide
 Adapters
Classic UIT Rail - Product Guides
 Tripod Heads
Davros Head Gen 2 - Product Guide
 Tripod Heads
Davros Pro Head Gen 2 - Product Guide
 Adapters
HD Optics Adapter - Product Guide
 Bipods
Javelin Lite TL - Product Guide
 Tripod Heads
Quick Shot Rest - Product Guide
 Bipods